
Proofing
Just a quick guideline on how to use the scanner:
The scanner is attached to Computer 2, so obviously that's the one that has to be on. To scan an image, open up the folder scanner tools on the desktop - 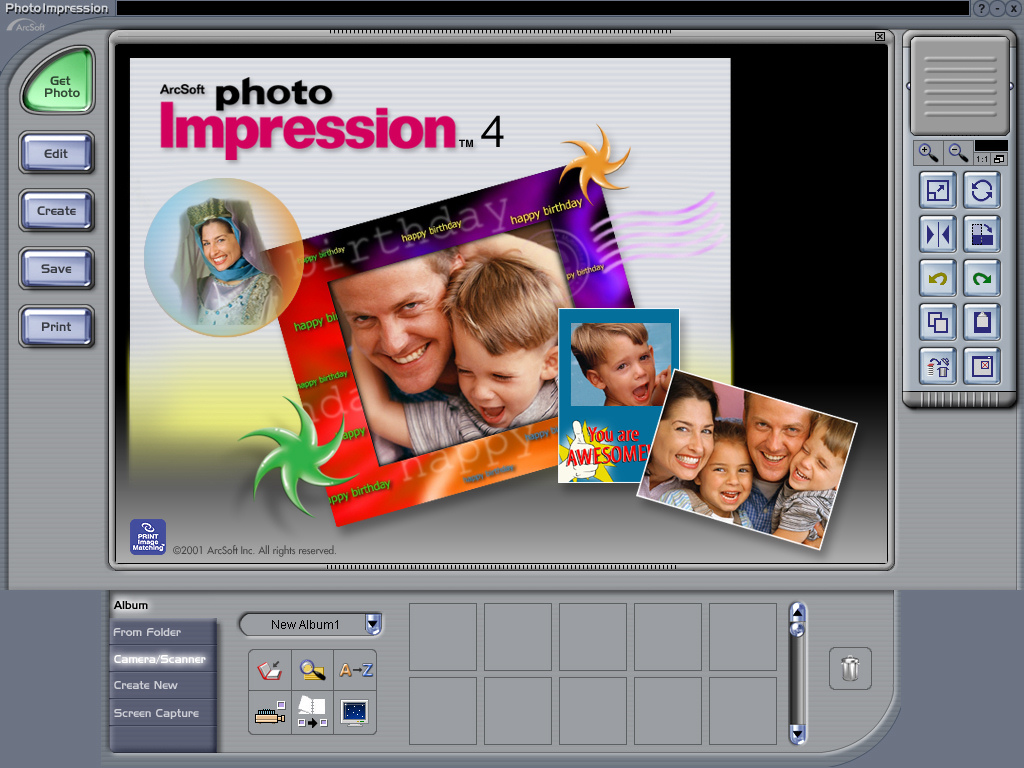 Photo Impression 4 is the program you want to use.
Once that's open, click Camera/Scanner. It may take some time to load, but it should load fine.
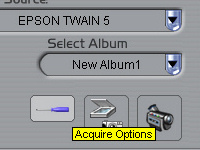 You'll want to click on the button, Acquire Options, the first time you scan, just to make sure all the settings are correct. It'll open up a window with several options, including where you want to save your acquired images to.
 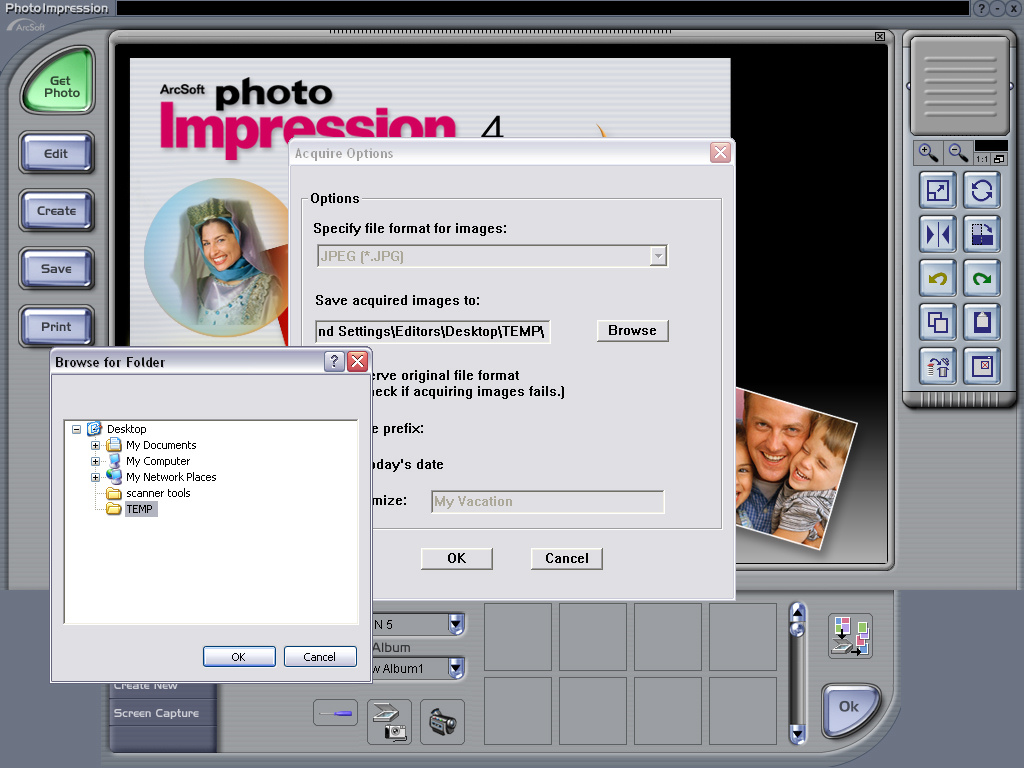 Open up browse and make sure that the path is to Desktop > TEMP, which is a folder on the Desktop specifically used to scan to. Once the setting are all correct, to scan, you want the button beside the Acquire Options button, which is the Acquire button.
 When you've clicked it, the scanner will warm up and run a preview scan. A window will open up with options for the scanned image. Remember that colour photos should be scanned at a resolution of at least 500 dpi, and black & white, at least 300 dpi (also remember to ask the Photo team to take photos at the highest resolution they can - it'll save you from having to resize images in Photoshop or whatever).
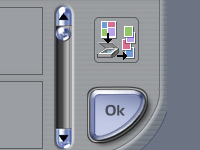 Once all that is set, the photo should scan properly to the TEMP folder. Just close the Epson Twain window and you'll see the photos in the thumbnail gallery of the Photo Impression window. You can, if you need to (ie. when scanning ads) use the Multi-Crop button, which is to the right of the thumbnails and small scrollbar. It allows you to scan several items at a time and crop them all, producing separate image files in your TEMP folder.
Alternatively, if you're more comfortable (or if there's something wrong with Photo Impression), use Photoshop and File > Acquire Image from Epson Twain scanner.
Photo Organisation
 Once the photos are scanned into TEMP,
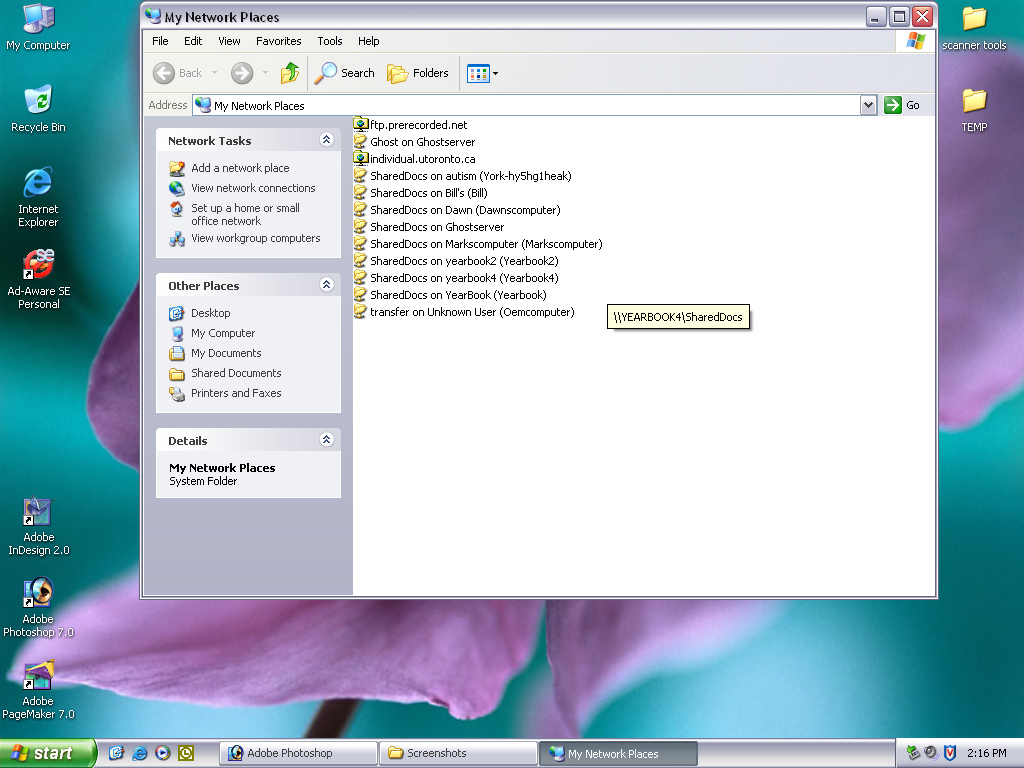
 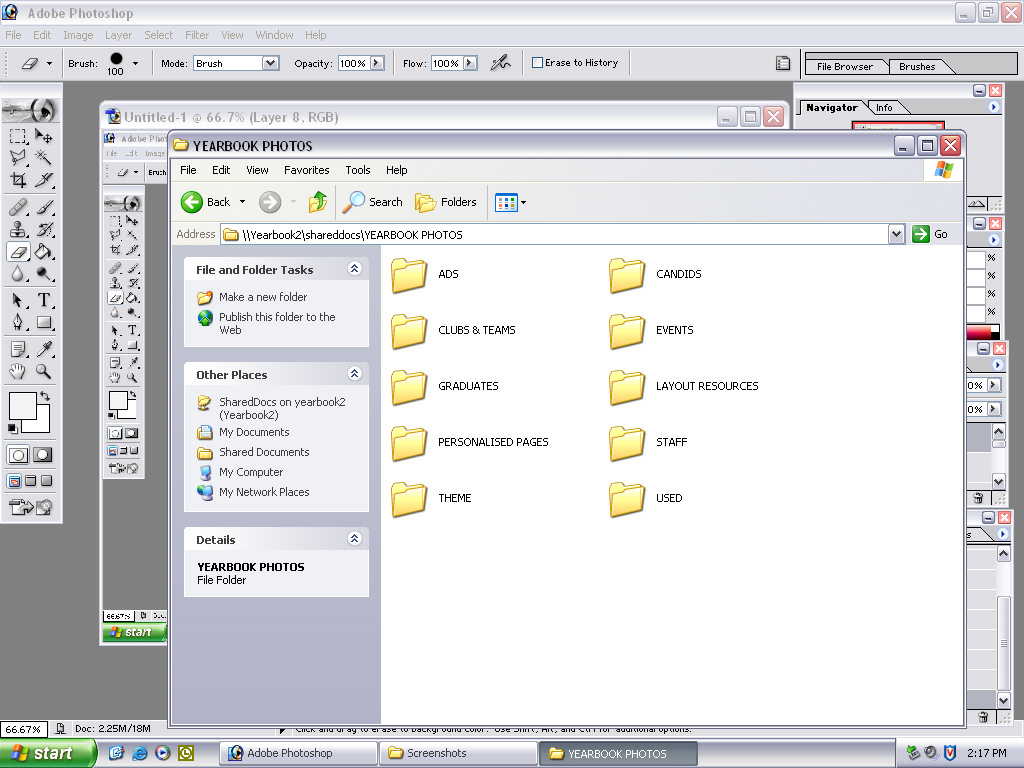 it's a simple matter of cutting and pasting through My Network Places > Computer2 > Shared Documents > YEARBOOK PHOTOS (or, if Network Places isn't working, \\Yearbook2\shareddocs\YEARBOOK PHOTOS) and sorting them appropriately.